
Uploading Assets and Tagging - Guide
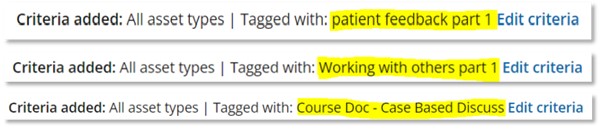
Before uploading an asset, please ensure you get/know the Tag you need for the asset so once it is uploaded it will appear on the correct page and your assessors and externals can locate it on the page. The tag for your asset can be found at the bottom of the page as shown in the screenshots below. The yellow highlighted parts are the tags you would need to copy.
1. Click Assets on the homepage of PebblePad.

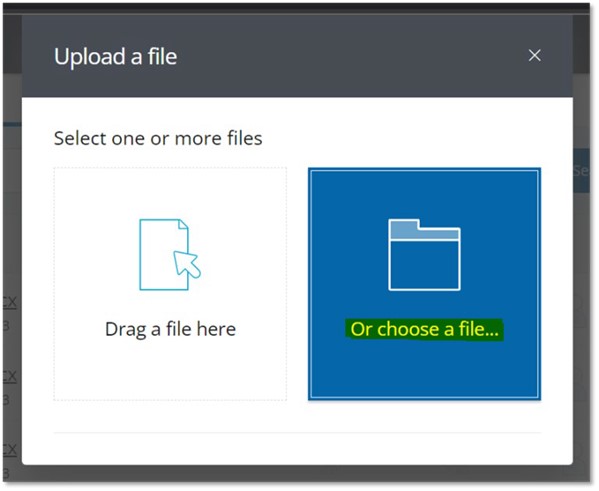
2. Click Or choose a file… and then locate the file you want to upload as
an asset.
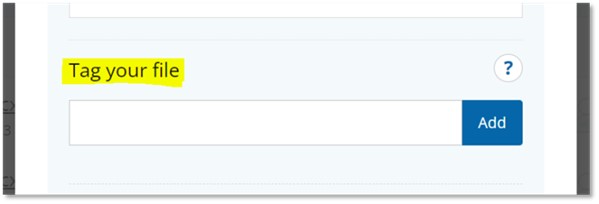
3. Once you have chosen your file scroll to the bottom of the page where you will need to tag your file accordingly before confirming the upload.
As mentioned above please ensure you get the Tag you need for the asset so once it is uploaded it will appear on the correct page and your assessors and externals can locate it on the page. The tag for your asset can be found at the bottom of the page the asset is for.

Paste the tag you have copied and click Add.
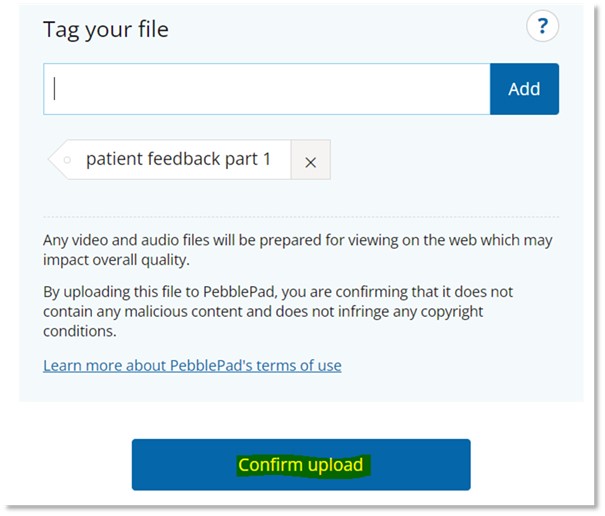
Once you have entered your tag click Confirm upload. Once you have done this your asset should now appear on the correct page in your workbook. Please access your workbook and check the page, ensure Search results is turned ON and the newly uploaded and tagged asset shall appear at the bottom of the page.